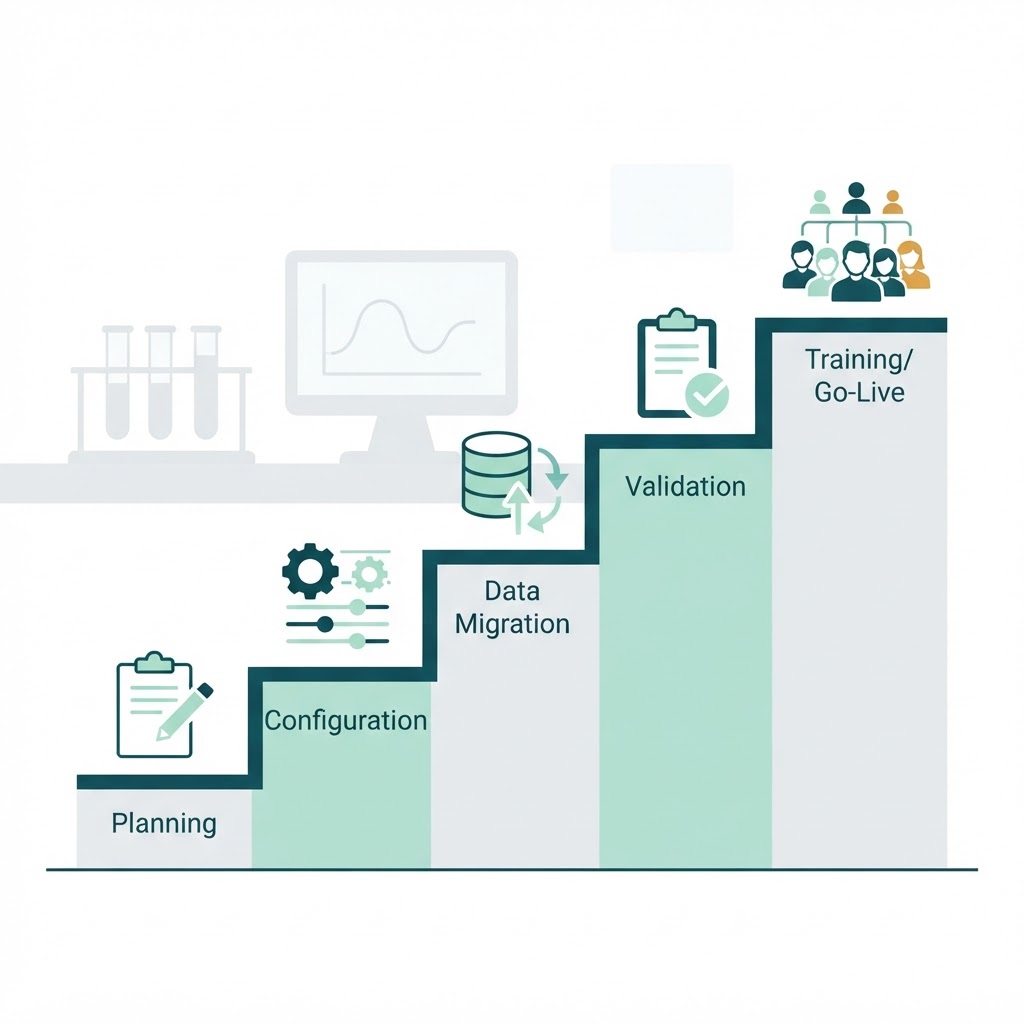

Why LIMS Implementation Deserves Its Own Plan
Choosing a LIMS is one project. Getting it live in your lab is another. A laboratory that treats implementation as an afterthought to selection, assuming the hard part was picking the vendor, is the most common reason rollouts run late, over budget, or end up used reluctantly.
LIMS implementation is the work of taking a licensed system from contract signature to a validated, staffed, working system: configuration, data migration, integrations, testing, training, and go-live. The timeline can range from a few weeks for a narrowly scoped cloud deployment to over a year for a heavily regulated, multi-site on-premise rollout.
This guide walks through the phases, the roles involved, what tends to go wrong, and a checklist you can adapt for your own laboratory.
Phase 1: Requirements Gathering and Workflow Mapping
Before configuring anything, document the sample lifecycle exactly as it currently runs — accessioning, test ordering, sample processing, result review, reporting, and disposal. This is not a theoretical exercise. You are building a map of how work actually moves through your lab today, with all its exceptions, workarounds, and informal rules.
A few things to capture at this stage:
- Every sample type your lab handles and the tests performed on each
- The full testing sequence from receipt to report release
- Who reviews and approves results at each step
- How samples are labelled, stored, and eventually disposed of
- Which instruments produce data that needs to flow into the LIMS
- Any regulatory or accreditation requirements that the system must satisfy (NABL, ISO 15189, 21 CFR Part 11)
Skipping this step and configuring the LIMS around vendor defaults is a common source of rework. The defaults rarely match how your lab actually operates.
Phase 2: Project Governance and Scoping
Confirm the implementation team, decision-making authority, budget, and a scope document that clearly separates what ships at go-live from what is deferred to a later phase.
Who should be on the team
- Lab director or quality manager: owns the overall requirements and signs off on validation
- IT or informatics lead: handles integrations, security, infrastructure
- A super-user from each department (biochemistry, pathology, microbiology, etc.): brings ground-level workflow knowledge
- Vendor implementation consultant: provides product expertise and drives configuration sessions
Scope decisions that matter
Decide early what is in scope for go-live and what is not. A phased approach — starting with sample registration and result entry, then adding billing, then mobile collection, then advanced analytics — is far more reliable than attempting a single big-bang rollout. Scope creep mid-implementation is one of the top reasons timelines slip.
Phase 3: System Configuration
This is where the LIMS is built out to match your mapped workflows. Configuration includes:
- Sample types and test definitions: set up every test, including reference ranges, units, calculation formulas, and abnormal flags
- Workflows: define the sequence each sample follows — registration, aliquoting, testing, review, approval, report
- User roles and permissions: configure who can register, test, review, approve, and release
- Specifications and control limits: enter quality control rules, acceptable ranges, and auto-validation criteria
- Report templates: design patient and referral report formats that match your lab’s branding and regulatory requirements
- Barcode and label formats: set up label printing for sample tubes, slides, and racks
Configuration sessions are typically led by the vendor’s implementation consultant, with your super-users providing the lab-specific detail. This phase moves faster when your team has already done thorough workflow mapping.
Phase 4: Data Migration
Moving existing sample and result data into a new LIMS is rarely a simple export and import. It is the phase that most often runs long.
Clean data before you migrate
Legacy spreadsheets, a prior LIMS, or paper records typically contain inconsistent naming, duplicate sample IDs, and incomplete historical records. Cleaning this up before migration is cheaper than discovering it mid-cutover, when every discrepancy blocks the switch.
Decide how much history to migrate
Not all historical data needs to live in the active system. Some labs migrate only active or open samples and archive older records separately, with defined retrieval access, rather than forcing years of legacy data into the new system’s live database.
Field mapping
Legacy fields rarely map one-to-one onto the new system’s data model. Someone has to make deliberate decisions about what maps where, and what simply does not carry forward. Budget time for this — it is detail work that cannot be rushed.
Cutover strategy
| Strategy | How it works | Best for |
|---|---|---|
| Big bang | Full cutover on a single go-live date | Small labs with minimal legacy data |
| Phased | Roll out by department, site, or sample type | Larger labs with varied workflows |
| Parallel run | Operate both systems briefly to confirm matching results | Regulated or high-consequence testing |
A parallel run adds time and duplicate effort, but it is the lowest-risk option for labs where result accuracy is critical and regulated.
Phase 5: Integrations
Connect the LIMS to the instruments and external systems it needs to exchange data with:
- Analysers and instruments: via direct interfaces or middleware, so results flow automatically into the LIMS instead of being retyped
- Laboratory Information System (LIS) or EHR: for clinical labs that need to send results to hospital systems
- Billing or ERP systems: so test charges and inventory movements sync without manual entry
- Barcode printers and scanners: for label generation and sample tracking at receipt
Integration scope is frequently underestimated at the proposal stage. If you have many instruments from different manufacturers, each interface is its own small project with its own testing requirements.
Phase 6: Testing and Validation
Functional testing confirms the configured system behaves as specified. For regulated labs — NABL-accredited, ISO 15189-compliant, or operating under 21 CFR Part 11 — formal computer system validation is also required before go-live.
The IQ/OQ/PQ framework
Validation in regulated laboratories follows a structured qualification approach:
- Installation Qualification (IQ): Confirms the software is installed correctly on the right hardware, with the correct configuration and documentation
- Operational Qualification (OQ): Tests that the system operates correctly within its specified ranges — every workflow, user role, calculation, and boundary condition is exercised
- Performance Qualification (PQ): Confirms the system performs consistently under real working conditions, with actual samples and actual users over a defined period
This framework comes from equipment validation practice in pharmaceutical and clinical laboratories. For LIMS, it means generating documented evidence that the system does what it is supposed to do, reproducibly, under the conditions of actual use.
What to document
Validation records typically include test protocols, expected results, actual results, deviations, and sign-offs. These records form part of the lab’s quality system documentation and may be reviewed during audits by NABL assessors or other accreditation bodies.
Phase 7: Training
Role-based training is the difference between adoption and reluctant use. Generic vendor training on sample data is not enough — your staff need to learn the system on your own configured workflows.
Training approach
- End users (technicians, pathologists): how to register samples, enter results, review, and release reports
- Super users: advanced configuration, troubleshooting, and the ability to train new joiners
- Administrators: user management, security settings, backup, and system maintenance
Schedule training close to go-live, not months in advance. Skills fade if there is a long gap between training and actual use.
Phase 8: Go-Live and Hypercare
Go-live is the moment the new LIMS becomes the system of record. A defined period of intensified support — often called hypercare — follows immediately after cutover. During hypercare, both the vendor and your internal super-users are on standby to catch configuration gaps that only surface under real production load.
A few practical steps for a smooth go-live:
- Cut over on a low-volume day (e.g., a weekend or a Monday after weekend prep) to give the team breathing room
- Have the old system available as a fallback during hypercare
- Daily stand-up meetings during hypercare to surface and resolve issues quickly
- A clear escalation path to the vendor for bugs that cannot be fixed internally
Phase 9: Stabilisation and Optimisation
After hypercare ends, the system enters a stabilisation phase. This is where you refine reports, tighten workflows, and address anything that hypercare surfaced but did not require an immediate fix. It is also the time to plan the next phase — the modules that were deliberately deferred from initial scope.
Common Implementation Pitfalls (and How to Avoid Them)
- Underestimating data migration: Start data cleanup early. Assign a dedicated person. Do not assume it is a quick task.
- Skipping workflow mapping: Configuring against vendor defaults instead of your actual workflows guarantees rework.
- Scope creep: Every addition mid-project extends the timeline. Defer new requests to a documented phase 2.
- Insufficient training budget: Training is often the first line item to get cut when timelines slip. Do not let it be.
- No clear owner: Without a single person accountable for the implementation, decisions stall and conflicts go unresolved.
How IdLabNet Supports a Smoother Implementation
IdLabNet, Ideativemind’s LIMS platform, is designed to reduce the friction of implementation. It comes pre-configured for common diagnostic lab workflows — sample registration, barcode generation, multi-analyser integration, report formatting, and quality control tracking — so the configuration phase starts from a working baseline rather than a blank system.
For labs pursuing NABL accreditation, IdLabNet’s built-in validation features help streamline the IQ/OQ/PQ process, and our team provides implementation support from initial scoping through hypercare. Contact us to discuss your implementation timeline.
For a broader introduction to what a LIMS does, see our earlier guide: What Is LIMS? A Complete Guide to Laboratory Information Management Systems. If you are still comparing systems, our LIMS buyer’s guide walks through the selection process.
Key Takeaways
- LIMS implementation is a distinct project from selection — it deserves its own plan, team, and timeline
- Workflow mapping before configuration prevents the most common rework
- Data migration is the phase most likely to run long — start it early
- Regulated labs need formal validation (IQ/OQ/PQ) before go-live, not just functional testing
- Training close to go-live, on your own workflows, drives adoption
- A phased scope keeps go-live achievable and lets you build on a working foundation


 By
By