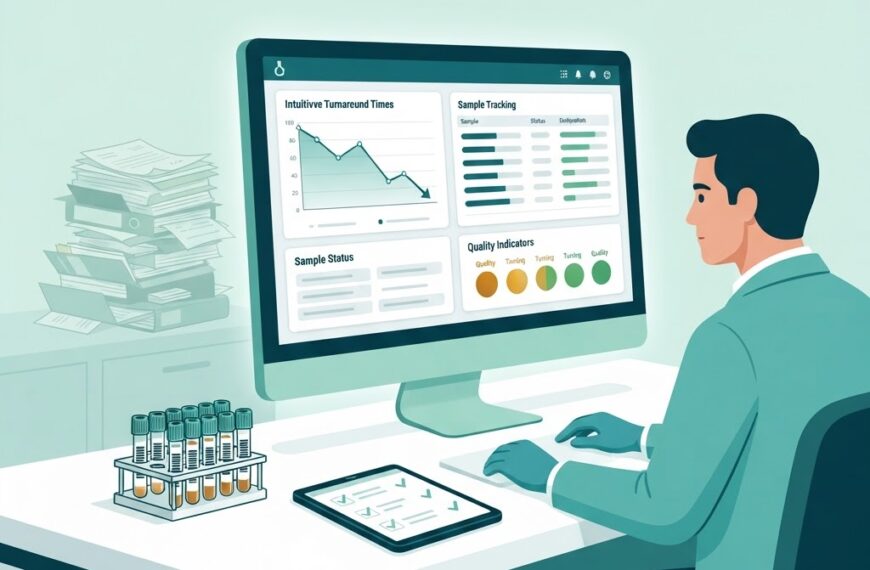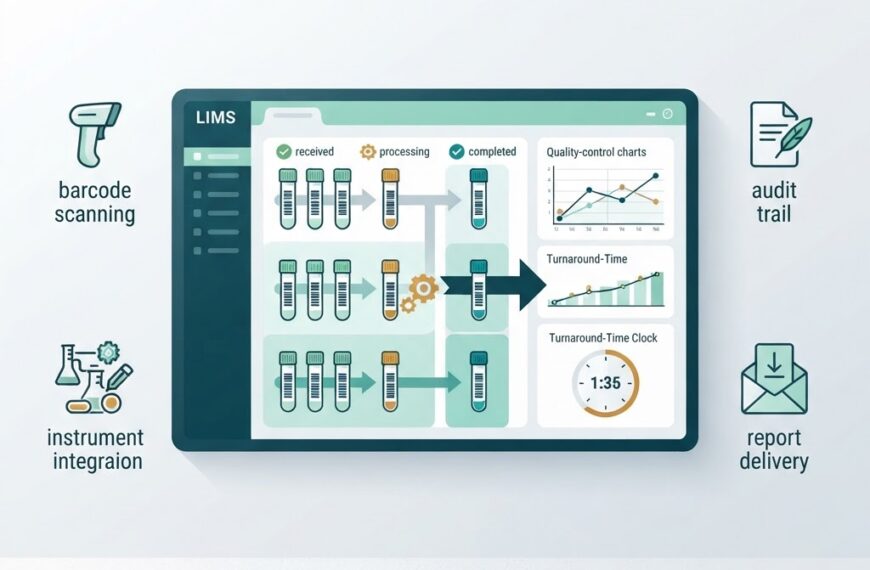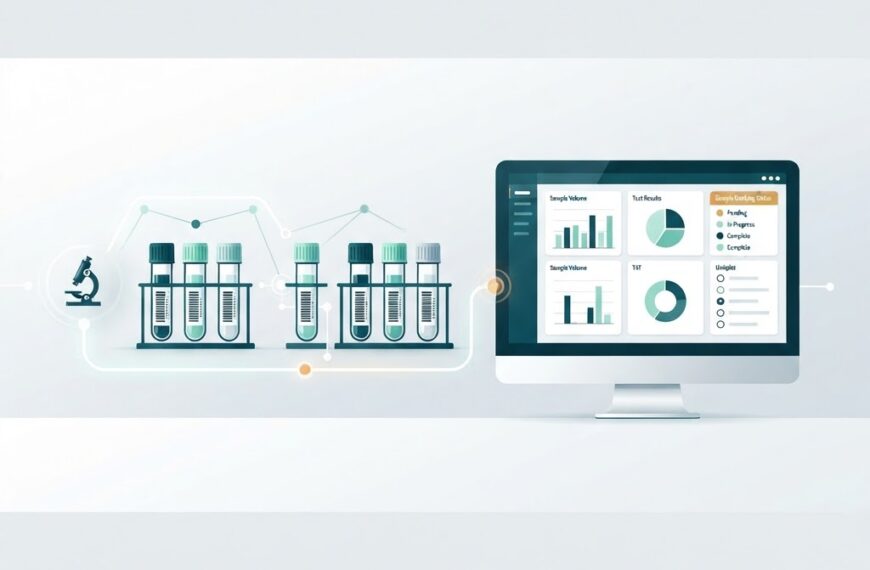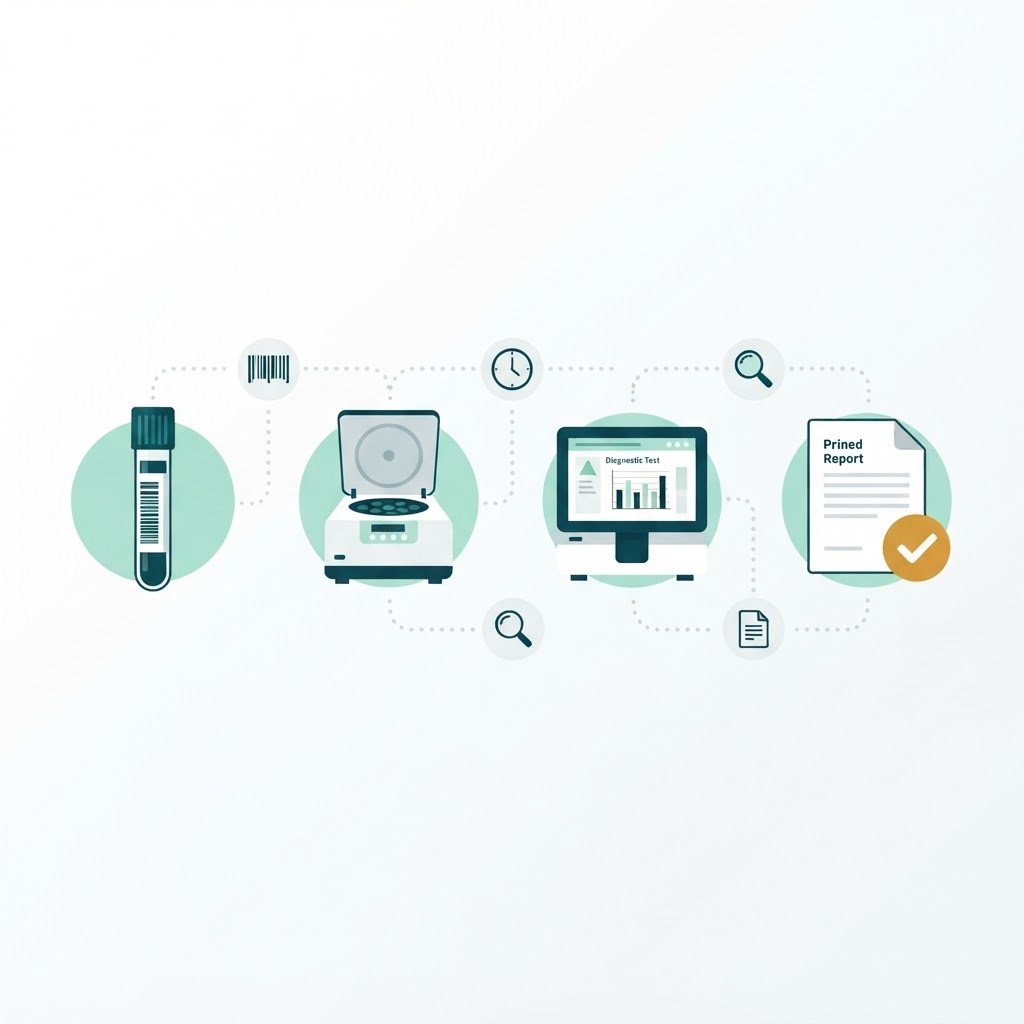

Every diagnostic test begins long before a result appears on a doctor’s screen. Behind the scenes, a biological sample moves through a carefully controlled sequence of steps — from collection at a patient’s arm to disposal after testing is complete. This sequence is the sample lifecycle, and understanding it is essential for anyone managing or evaluating a laboratory information management system.
When something goes wrong at any stage — a mislabeled tube, a delayed transport, an accessioning error — the downstream result is compromised. A well-designed LIMS tracks the sample at every point, creating an auditable chain of custody that protects both the patient and the lab. In this article, we walk through the full sample lifecycle in a diagnostic laboratory, the risks at each stage, and how a LIMS keeps the process under control.
Why the Sample Lifecycle Matters
A diagnostic lab processes hundreds to thousands of samples daily. Each one must be uniquely identified, tracked, and linked to the correct patient, test order, and result. The lifecycle is not just a logistical flow — it is a quality and compliance framework.
Laboratories accredited to ISO 15189 (the international standard for medical laboratories) are required to maintain documented procedures for pre-examination, examination, and post-examination phases. India’s National Accreditation Board for Testing and Calibration Laboratories (NABL) accredits labs to this standard. Every stage of the sample lifecycle maps to one of these three phases, and a LIMS is the tool that enforces and records them.
Stage 1: Test Ordering and Sample Collection
The lifecycle begins when a physician orders a test. In a LIMS-connected lab, the order is entered electronically — either directly from a hospital information system via HL7 messaging or through the LIMS interface at a collection centre. The order captures patient demographics, the tests requested, and any clinical notes.
At collection, the phlebotomist verifies the patient’s identity, collects the sample into the appropriate tube (EDTA for hematology, serum separator tube for biochemistry, citrate for coagulation, and so on), and labels it immediately at the bedside. This is the most critical moment for patient safety: a labeling error here means the wrong result reaches the wrong patient.
What a LIMS Does Here
- Generates a unique sample ID (often a barcode) at the point of collection
- Prints labels with patient name, sample ID, tube type, and collection time
- Records the collector’s identity and timestamp
- Flags tests with special handling requirements (fasting, cold chain, protected from light)
Barcode labeling at collection is the single most effective safeguard against sample mix-ups. A LIMS that prints and scans barcodes at the bedside eliminates manual transcription errors, which are the leading cause of pre-analytical errors in diagnostic labs.
Stage 2: Transport and Chain of Custody
Once collected, the sample must reach the testing laboratory — sometimes within the same building, sometimes from a distant collection centre. Temperature-sensitive samples (like arterial blood gases or certain coagulation panels) require cold-chain logistics. Time-sensitive tests have strict stability windows.
Every handover — from phlebotomist to courier, courier to accessioning clerk — is a point where samples can be lost, delayed, or mishandled. The concept of chain of custody means that at any moment, the lab can determine exactly who handled the sample and when.
What a LIMS Does Here
- Records each transfer with a timestamp and handler ID (scanned via barcode)
- Flags samples that exceed their stability window before reaching the lab
- Supports temperature logging for cold-chain transport
- Tracks samples by batch or courier run, so an entire batch can be reconciled on arrival
Stage 3: Accessioning and Sample Reception
When the sample arrives at the laboratory, it goes through accessioning — the process of formally accepting the sample into the lab’s workflow. The accessioning clerk scans the barcode, confirms the patient and test order match what was received, and assigns the sample to the appropriate testing department.
This is where the LIMS creates the formal link between the physical sample and the electronic record. If a sample arrives without a matching order, damaged, or outside its stability window, the LIMS flags it as a rejection with a reason code.
Common Accessioning Problems
| Problem | Risk | LIMS Safeguard |
|---|---|---|
| Sample without a matching order | Result posted to wrong patient | Blocks accessioning until matched |
| Wrong tube type for ordered test | Test cannot be performed | Auto-validates tube type against test requirements |
| Sample outside stability window | Compromised result accuracy | Time-stamp comparison, rejection flag |
| Duplicate sample ID | Two results, one sample | Unique-index enforcement prevents duplicates |
Stage 4: Processing and Aliquoting
Many tests require the sample to be processed before analysis. Whole blood is centrifuged to separate serum or plasma. A single sample may be aliquoted — divided into smaller portions — so multiple analyzers in different departments can run their tests in parallel.
Aliquoting is a frequent source of error because it introduces additional containers. Each aliquot must be traceable back to the parent sample and ultimately to the patient. A LIMS manages this by assigning child barcodes to each aliquot and linking them to the parent record.
For tests requiring special preparation — such as dilution, incubation, or extraction — the LIMS records who performed the step, when, and with which reagent lot. This is especially important for accredited labs, where auditors may ask for evidence of every processing step.
Stage 5: Testing and Analysis
The sample now reaches an analyzer — a hematology analyzer, a biochemistry immunoassay platform, a PCR thermocycler, or a manual workstation. Modern analyzers are connected to the LIMS through instrument interfaces, typically using the ASTM or HL7 protocols.
Two modes of operation are common:
- Unidirectional interface: The analyzer receives the test order from the LIMS (sampling the tube via barcode read on the analyzer rack).
- Bidirectional interface: The analyzer both receives orders and sends results back to the LIMS automatically.
For manual tests, a technologist enters results into the LIMS directly. The system can enforce reference ranges, flag critical values, and require second-entry verification for certain tests to catch transcription errors.
Quality Control During Testing
A LIMS typically manages quality control (QC) data alongside patient samples. Each analytical run includes QC materials with known values, and the LIMS applies rules (such as Westgard rules) to detect shifts or trends that would invalidate the run. If QC fails, the LIMS can block result release until the issue is resolved.
Stage 6: Result Validation and Release
Before a result reaches the clinician, it must be validated. In a paper-based lab, this means a senior technologist or pathologist signs off on a printed report. In a LIMS, validation can be:
- Technical validation: The system checks that the result falls within a plausible range, QC is in control, and no delta-check violation occurred (a sudden, implausible change from the patient’s previous result).
- Medical validation: A pathologist reviews the result, adds interpretation or comments, and releases it.
Critical results — values that indicate a life-threatening condition — trigger immediate alerts. A LIMS can require the technologist to document that the critical value was communicated to the ordering physician, including the time and the person who received the call. This is both a patient safety measure and a compliance record.
Stage 7: Reporting and Result Delivery
Once validated, the result is delivered to the clinician. Delivery methods include:
- Printed report collected by the patient or couriered to the referring clinic
- Electronic delivery via HL7 messaging to a hospital information system or electronic health record
- Secure patient portal or email with a PDF attachment
- SMS or WhatsApp notification with a link to the online report
A LIMS generates the final report with patient details, test results, reference ranges, interpretive comments, and the lab’s accreditation information. The report format should comply with ISO 15189 requirements, which mandate that reports include clear identification of the lab, the patient, the test, and the authorized signatory.
Stage 8: Storage, Retrieval, and Disposal
After testing, samples are not immediately discarded. Most labs retain samples for a defined period — typically 7 days for routine samples and longer for special tests — in case a clinician requests a re-test or additional testing. The storage location and conditions must be documented.
A LIMS tracks:
- Where each sample is stored (freezer, refrigerator, shelf bin)
- The retention period and disposal date
- Chain of custody for any retrieval and re-testing
When the retention period expires, the sample is disposed of according to the lab’s biohazard waste policy. The LIMS records the disposal event, closing the lifecycle loop.
How a LIMS Connects the Full Lifecycle
The table below summarizes how a LIMS engages with each stage of the sample lifecycle:
| Lifecycle Stage | Key LIMS Function | Primary Risk Prevented |
|---|---|---|
| Test ordering | Electronic order entry, HL7 intake | Lost or misread orders |
| Sample collection | Barcode labeling at bedside | Patient misidentification |
| Transport | Chain-of-custody tracking, stability flags | Sample degradation, loss |
| Accessioning | Order-sample matching, rejection logging | Wrong-patient results |
| Processing | Aliquot tracing, reagent lot recording | Aliquot mix-up, missing audit trail |
| Testing | Instrument interface, QC management | Transcription errors, invalid runs |
| Validation | Technical and medical validation rules | Released errors, missed critical values |
| Reporting | Compliant report generation, multi-channel delivery | Lost or delayed reports |
| Storage and disposal | Retention tracking, disposal logging | Re-test failure, compliance gaps |
The Cost of Gaps in the Lifecycle
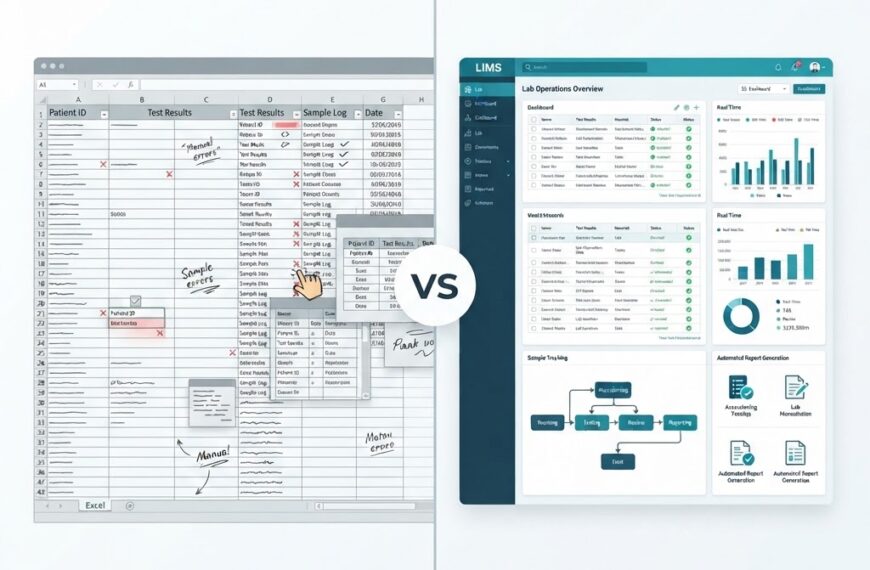
When a lab relies on spreadsheets or paper logs, the sample lifecycle breaks down at the handoffs. A sample that arrives without a matching order sits on a bench until someone calls the collection centre. A result written on a paper worksheet is transcribed into a report, and a digit is swapped. A tube stored in a freezer has no record of when it was put there or when it should be discarded.
These gaps are not just operational inefficiencies — they are patient safety risks. Studies of laboratory errors consistently find that the pre-analytical phase accounts for the majority of laboratory errors, with post-analytical reporting failures also contributing significantly. A LIMS that tracks the sample end-to-end does not eliminate every error, but it makes errors visible, traceable, and correctable rather than invisible and permanent.
Conclusion
The sample lifecycle is the backbone of diagnostic laboratory operations. Every stage — from collection to disposal — has specific risks, and each risk has a corresponding LIMS safeguard. For a lab considering whether to invest in a LIMS, the value proposition is not just about efficiency or reporting speed. It is about end-to-end traceability: knowing where every sample is, who handled it, what was done to it, and whether the result can be trusted.
If your lab is still managing samples with spreadsheets or paper, IdLabNet covers the full sample lifecycle out of the box. To learn more about what a LIMS does and how to choose one, start with our guides on what LIMS is, core LIMS features, and LIMS implementation. Questions about your specific workflow? Contact us — we help diagnostic labs of all sizes get their sample lifecycle under control.

 By
By